Installing a solar floodlight lets you light home entrances, gardens, rest houses, and farms without long electrical runs in many applications, and you can contact Shahen to ask about the right energy solutions for your site. But getting steady lighting starts with choosing a suitable floodlight, placing the panel where it gets sunlight, and fixing the components according to the manufacturer’s instructions. In this guide you’ll learn the installation steps, how to set up operation, and how to compare quality and cost before you buy.
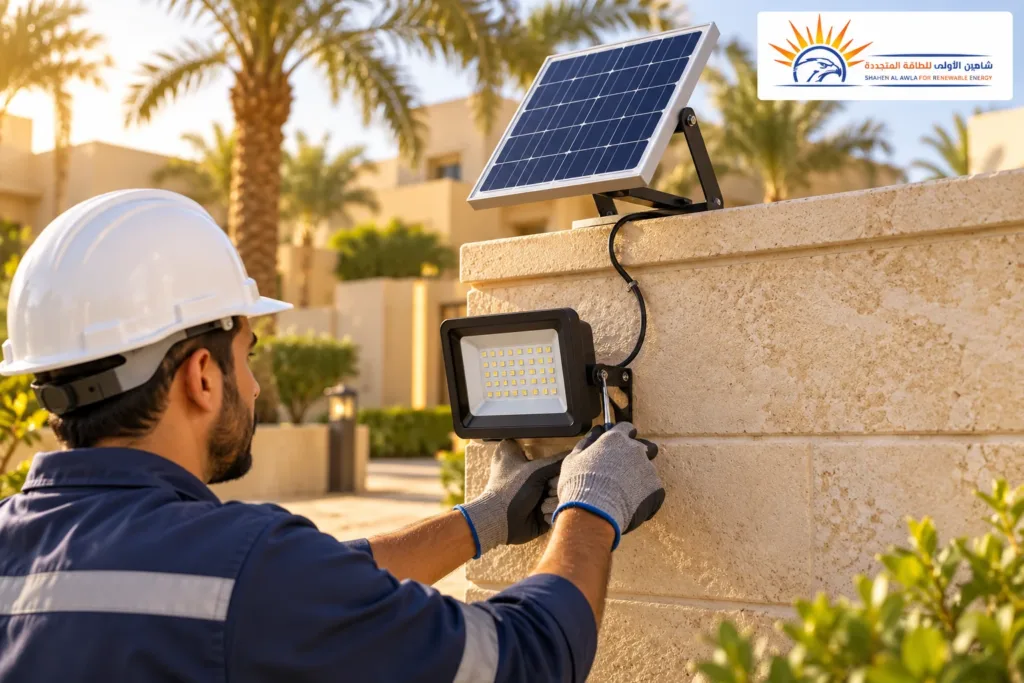
5 Ways to Install a Solar Floodlight From Shahen
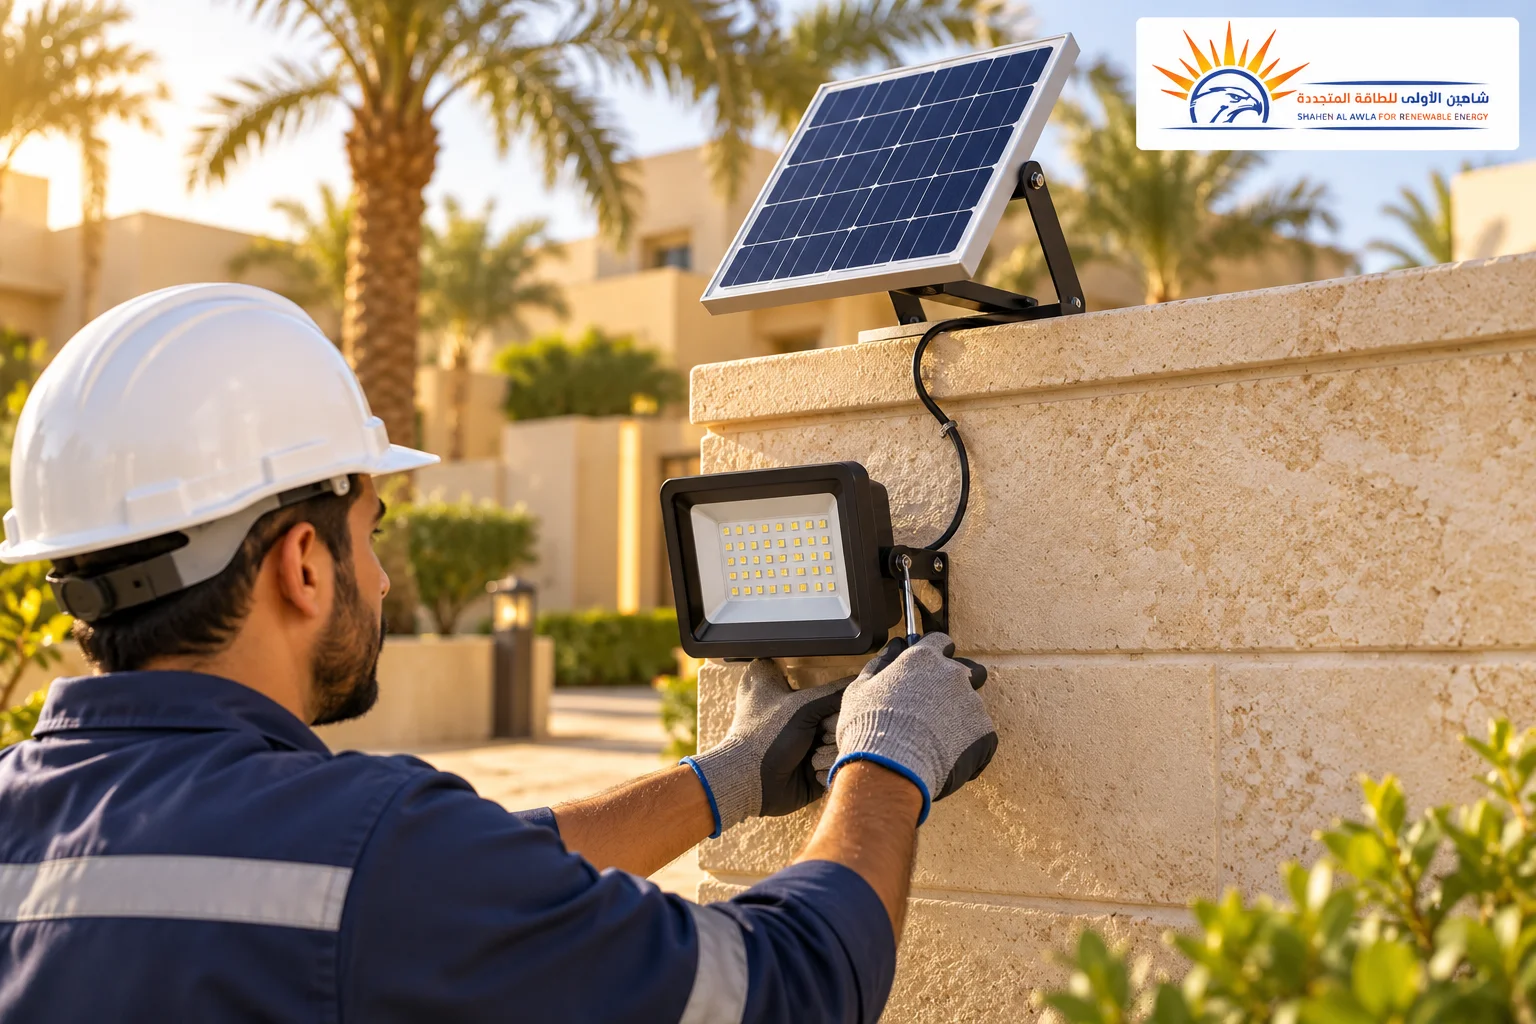
Installing a solar floodlight from Shahen can be done in five ways depending on the floodlight’s design and the site, after confirming that the mounts and the model’s instructions are compatible:
- On a wall: to light home entrances and gates, using fixings suited to the type of wall.
- On a pole: to spread light across yards and parking areas, with a suitable height and base.
- On a garden wall or fence: to light pathways and outer boundaries without obstructing movement.
- With a separate solar panel: the floodlight goes where it is needed, and the panel is mounted in a sunny spot within the approved cable length.
- On a suitable metal frame: to direct light at a specific area, provided the frame can carry the weight and withstand wind, and the mounts are secure.
How Does a Solar Floodlight Work?
Before installing a solar floodlight, it helps to understand its components: the panel converts sunlight into electricity, the battery stores the energy, and a control circuit manages charging and powers the LEDs.
Some models switch on automatically when light levels fall, while others offer a timer, a motion sensor, or a remote control, so they are used in different ways. You can look at solar-powered products to understand the difference between standalone lighting units and devices that need an external system.
Types of Floodlights for Outdoor Use
The right way of installing a solar floodlight depends on its design and where it will be used:
| Type | Best use | What to check |
|---|---|---|
| Floodlight with built-in panel | Sites exposed to the sun | Whether sunlight reaches the floodlight’s position |
| Floodlight with separate panel | Entrances and shaded areas | Cable length and where the panel will be mounted |
| Floodlight with motion sensor | Gates and pathways | Sensor range and detection angle |
| Floodlight with timer | Lighting for a set period | Options for setting the run time |
Choose the design that suits the actual site, not just the look or the number printed on the box.
Which Specifications Should You Check Before Buying?
Successfully installing a solar floodlight depends on clear technical data, especially:
- Luminous flux in lumens.
- Solar panel power.
- Battery capacity and energy.
- Dust and water protection rating.
- Operating and charging temperature range.
- Warranty period and terms.
- Availability of a replacement battery or spare parts.
Also check whether the stated wattage is actual consumption or an “equivalent” lighting output. To learn about the panel’s role and technologies, read our guide to the best types of solar panels.
Choosing Where to Put the Panel and the Floodlight
The most important decision when installing a solar floodlight is to separate where you need light from where the panel needs to charge: you may need light under a canopy, while the panel needs an open spot.
Watch how shadows move during the day, especially near trees, walls, and rooftop tanks. Manufacturers’ instructions stress the importance of exposing the panel to direct sun and avoiding obstructions. Orientation and tilt depend on the site, the model, and how adjustable the mount is (see this manufacturer installation guide).
Understanding solar panel sizes also helps you estimate the mounting space needed.
Tools and Equipment You’ll Need
Prepare your tools for installing a solar floodlight after checking the contents of the box and the model’s manual. You may need a drill, screwdrivers, a tape measure, a spirit level, a suitable ladder, and fixings that match concrete, brick, or a metal frame.
Inspect the mount, cable, and connectors before starting. When working at height or mounting on a façade or pole, use a qualified technician. For sites with multiple lighting units, you can ask about design and consulting before deciding where they go.
Step 1: Mark the Mounting Points
Start installing a solar floodlight by defining the area to be lit: a gate, a pathway, a parking spot, or an outdoor seating area? Then choose a position that spreads the light without shining it into passers-by’s eyes or neighbors’ windows.
Set the mounting height according to the product manual and the beam angle. If the floodlight has a motion sensor, check its detection range too. Before drilling, make sure there are no hidden water pipes or electrical cables.
Step 2: Fix the Mounts
Installing a solar floodlight requires fixing the mount to a sound surface that can carry the unit’s weight and the effect of wind. Use fixings suited to the surface, and follow the specified tightening torque if the manual gives one.
Don’t rely on a layer of paint or weak cladding to hold the floodlight, and don’t use ordinary adhesive instead of approved fixings. After tightening, make sure the mount is firm and that you can adjust the unit’s direction without pressing on its body or lens.
Step 3: Mount the Panel and Route the Cable
When installing a solar floodlight with a separate panel, fix the panel in the chosen position, then route the cable away from sharp edges and areas where water collects.
Leave a little slack to avoid strain on the connectors, and secure the cable with clips suitable for outdoor use. Don’t cut or extend the cable at random; this can affect performance and weatherproofing. These precautions follow the same principles as solar installation in Saudi Arabia.
Step 4: Connect the Components
Finish installing a solar floodlight by following the connection order specified for the model, making sure the connectors match and are properly sealed. Don’t force a plug that doesn’t fit, and don’t open the battery compartment without a reason and clear instructions.
A standalone solar floodlight usually doesn’t need to be connected to your home’s electricity. If the product supports an additional power source, follow its original specifications. You can learn about the general functions of components in our guide to solar system components.
Charging the Battery and Testing the Light
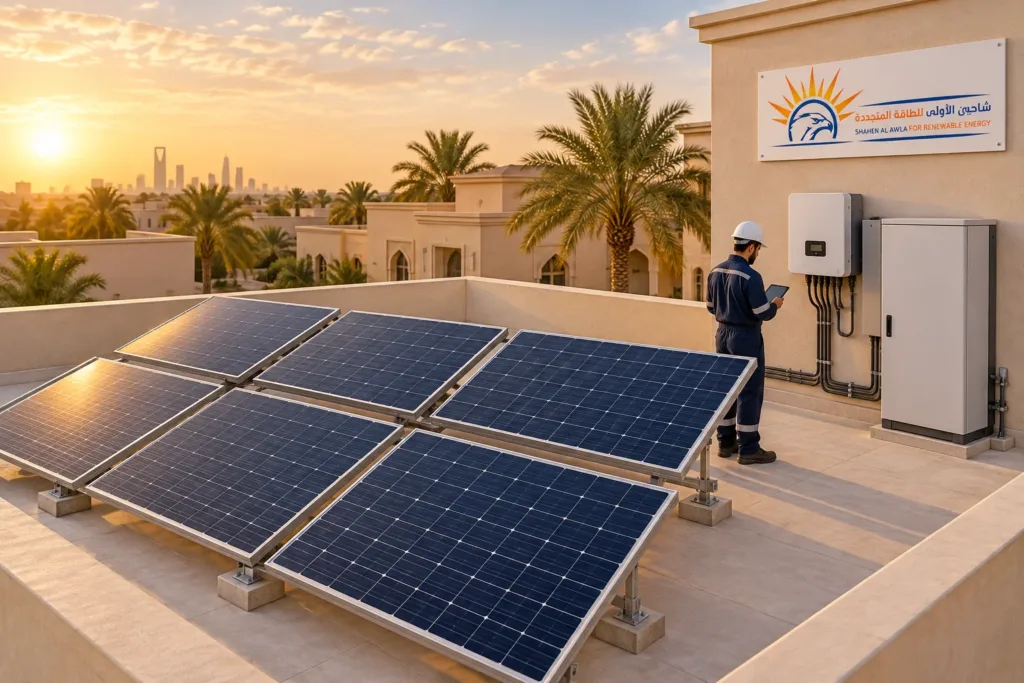
Installing a solar floodlight doesn’t end once it’s mounted: let the battery charge before testing night-time performance, for the period the manufacturer specifies. Some models require a long initial charge, and one figure for charging hours can’t be applied to every device (see this manufacturer reference).
Test operation after sunset and watch the light distribution and how the sensor responds. Note when the light comes on and when it dims; these observations help you evaluate the settings and charging over the following days.
How to Operate the Floodlight and Set the Remote
After installing a solar floodlight, choose a suitable operating mode instead of leaving the device at maximum brightness by default. Options may include:
- Switching on automatically at dusk.
- Lighting for a set period.
- Reducing brightness to save energy.
- Increasing brightness when motion is detected.
Button names and functions differ between models, and some programs dim the light gradually through the night. So check the remote’s manual, and don’t assume automatic mode means maximum brightness all night (see this product manual example).
How to Estimate Battery Needs
When planning installing a solar floodlight, an energy calculation helps you make sense of the specifications. An illustrative example: a floodlight that actually draws 10 watts for six hours needs around 60 watt-hours for lighting, before losses and an operating margin are added.
This is a preliminary estimate, not a recommendation for a specific battery capacity; the result changes with dimming, temperature, and battery management. You can read our guide to solar batteries to understand the difference between power, capacity, and stored energy.
Heat and Dust Considerations in Saudi Arabia
Installing a solar floodlight in Saudi Arabia requires attention to the temperature range set by the manufacturer, especially for the battery. Choose a location that doesn’t trap heat around the unit, and avoid covering it or placing it inside an enclosed space not designed for it.
Charging can drop when dust builds up on the panel, and coastal sites need components checked for corrosion resistance. If the battery is lithium, our guide to lithium batteries explains its usage and compatibility requirements.
How to Choose the Best Solar Floodlights
Finding the best solar floodlights starts with defining your needs. Before installing a solar floodlight for a small pathway, light distribution and a motion sensor may matter more than a high power rating you don’t need.
Compare products using data you can verify:
| Comparison criterion | What to look for |
|---|---|
| Lighting | Documented lumens and suitable distribution |
| Battery | Stated energy and clear warranty terms |
| Panel | Power that matches consumption |
| Operation | A program that suits your hours of use |
| Service | Instructions, spare parts, and support |
You can browse the available options in the Shahen store, confirming availability and specifications before ordering.
Solar Floodlight Prices and Installation Costs
Solar floodlight prices vary with the quality of the lighting, battery, panel, sensors, and warranty. When budgeting for installing a solar floodlight, add the installation fee, any extra mount, difficulty of access, and any site work required.
Ask for a quotation that states the model, what’s in the box, and the scope of work. Don’t use solar panel prices to estimate the full price of a floodlight; the panel is only one part of the product, and the other components and costs differ between models.
Mistakes That Reduce a Floodlight’s Efficiency
Common mistakes when installing a solar floodlight include mounting the panel in the shade, leaving the cable under tension, or pointing the light away from the area you need lit.
Others include buying a floodlight based on wattage alone, running it at maximum brightness despite limited charging, and replacing the battery with an incompatible one. An integrated floodlight usually doesn’t need an external charge controller; you can read our guide to solar charge controllers to understand their role in larger systems.
Maintenance After Installation
Protect the results of installing a solar floodlight by gently cleaning the panel according to the manufacturer’s instructions, and checking the mounts, cable, and connectors regularly, especially after storms and dust.
If the lighting time drops, check for shading, dirt, and settings before concluding that the battery is faulty. Avoid submerging the unit or spraying pressurized water at the connectors. For system inspections, Shahen offers a maintenance and technical support service; confirm the scope of service for your model.
Start by Surveying the Site and Defining Your Needs
You get the best results from installing a solar floodlight when the lighting, battery, and panel match the site and your hours of use. Define the area, watch the sunlight, compare specifications and warranty, then install and test performance at night.
To find suitable options, availability, and installation service, you can request a quotation from Shahen and send photos of the site, its dimensions, and how long you need the light to stay on, so the comparison is based on a clear need.
Frequently Asked Questions
Can I install the floodlight without a technician?
A small solar floodlight can be installed in a low position if the product instructions allow it and you have the mounting skills. Poles, façades, and high positions need a specialist and suitable equipment.
Does the floodlight stay on all night?
That depends on charging, battery capacity, consumption, and the lighting program. Check the conditions used to test run time, and whether they assume constant or stepped brightness.